Ever tried to throw a ball and watch your dog just stare? It can feel like the toy is stuck in a black hole. The good news is you don’t need hours of play to fix that. A short, focused routine can turn a curious pup into a reliable fetcher. In this guide we’ll walk through four clear steps, from picking the perfect toy to adding real‑world distractions. By the end you’ll have a game plan you can use today.
Step 1: Choose the Right Toy and Set Up a Safe Training Area
First thing you need is a toy your dog will love. Bright colours help the toy stand out, and a smooth rubber surface protects teeth. The FetchFusion line from Tug‑e‑Nuff offers a built‑in bungee handle that lets you launch the ball far without extra gear. Those toys are also easy for a dog to carry. If your pup isn’t into tug yet, start with a simple ball that rolls straight.
Next, pick a spot that is free of traffic, sharp edges, or water hazards. A quiet backyard or a large room with a soft rug works well. Make sure the area is big enough for a short throw but not so big the dog gets lost.
Before you start, check that the floor is non‑slippery. A mat or carpet keeps your dog’s paws from sliding, which reduces the chance of a slip‑off injury. If you train on grass, look for stones or sticks that could hurt the mouth.
Safety also means you have treats ready. High‑value treats (small bits of cheese or chicken) keep the dog motivated when you ask for a new behavior. Low‑value kibble works for easy steps.
When you have the right toy and a safe zone, you set the stage for quick learning. Dogs thrive when they feel confident and un‑threatened.
“A safe space lets a dog focus on the game, not the danger.”
Training in a calm area also reduces the chance of stray distractions that can break the flow.
The ASPCA explains why a calm environment speeds up learning.
Bottom line:Pick a bright, safe toy and a clear, hazard‑free space before you start any fetch drills.
Step 2: Teach the “Take It” Command
Now that you have a toy, it’s time to teach your dog to pick it up on cue. The word we’ll use is “Take It”. Start with the toy on the floor. Let your dog sniff it. When his mouth touches the toy, click a clicker or say “Yes!” and give a treat. This marks the exact moment he did the right thing.
If your dog is new to clicker training, spend a few minutes “charging” the clicker. Click, then give a treat. Repeat until the click alone makes the dog look for a reward.
After a few successful touches, begin to shape the behavior. Only click when the dog actually lifts the toy into his mouth. If he just nudges it, hold off on the click. Over time the dog learns that a full grab earns the reward.
Once the grab is solid, add the verbal cue. Say “Take It” just before you expect the dog to pick the toy up. Keep the tone friendly and consistent.
Practice this for short 5‑minute bursts. If the dog loses focus, stop and try again later. Short, happy sessions keep the dog eager.
Positive reinforcement training builds a strong bond and speeds up learning.
Wikipedia notes that fetch is a natural prey‑drive game for many breeds.
Bottom line:Click, treat, and cue “Take It” until the dog reliably grabs the toy on command.
Step 3: Add the “Bring It Back” Command
With “Take It” in place, the next piece is getting the dog to come back. The cue we’ll use is “Bring It”. Start by holding the toy a short distance away, about a foot. Say “Take It” and let the dog pick it up. As soon as the mouth is full, step back a step and call the dog’s name followed by “Bring It”.
If the dog looks at you, praise immediately and give a treat. If he runs off with the toy, gently guide him with a leash or a long line, then reward the return.
Repeat this a few times, each time adding a tiny bit more distance. The key is to keep the distance short enough that the dog can still see you.
When the dog starts to return reliably, add a release word like “Okay” so he knows when the game is over.
Watch your dog’s body language. A relaxed tail and soft eyes mean he’s confident. A stiff posture means you may be pushing too fast.
Here is a short video that shows the “Bring It” cue in action:
After a few minutes of practice, ask the dog to fetch without a throw. Hold the toy in your hand, say “Take It”, then “Bring It”. This builds the mental link between the two cues.
Teaching a sit first gives a solid foundation for any command.
Bottom line:Pair “Take It” with “Bring It” and reward the return, gradually increasing distance.
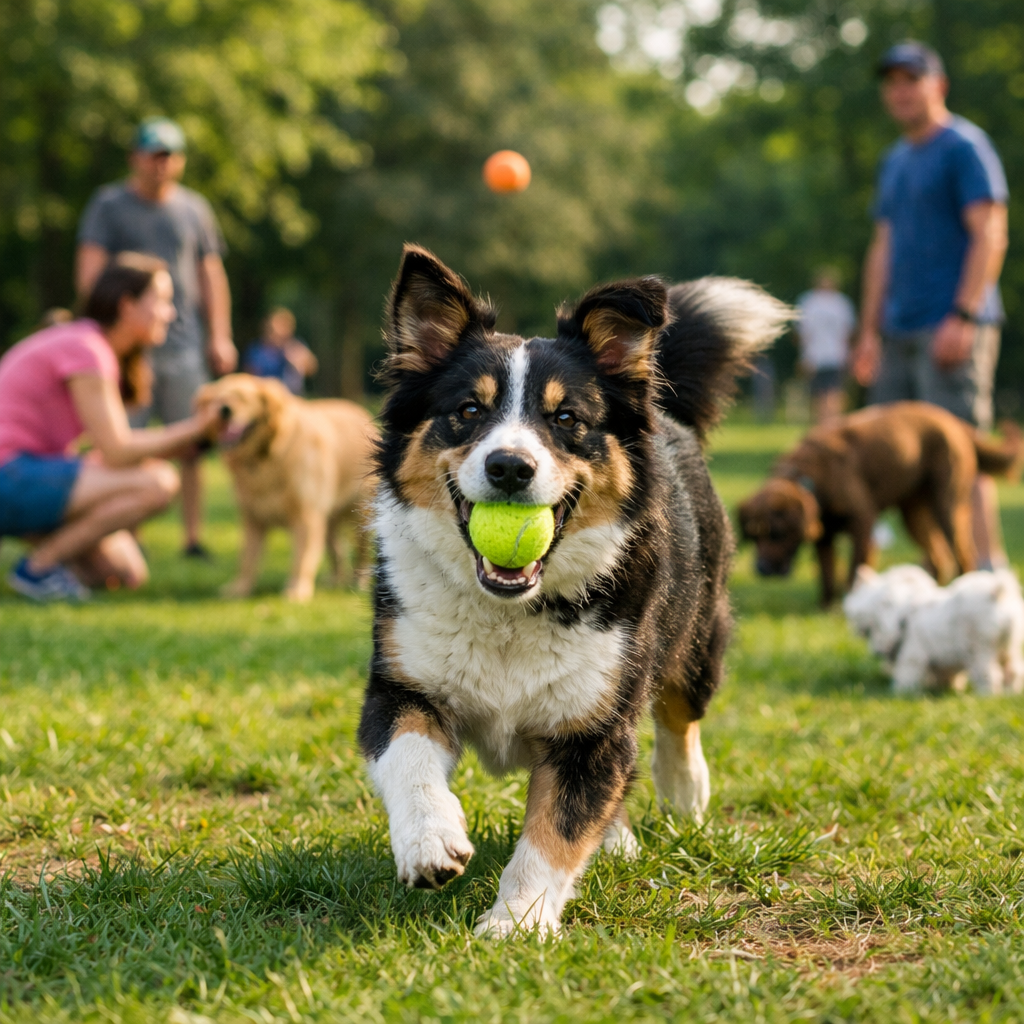
Step 4: Increase Distance and Add Distractions
Now the dog can fetch a short throw. It’s time to stretch the game. Move to a larger yard or a quiet park. Start with a throw that lands 5‑10 feet away. Use the same “Take It” then “Bring It” cues.
Watch for distractions: a squirrel, a passerby, or a loud bark. If the dog looks away, pause the game. Say “Watch me” and give a treat when he makes eye contact.
Gradually raise the challenge. Throw the toy farther, add a small crowd, or train near a busy street (but keep the dog on a long line). Each new element should be introduced one at a time.
Remember the three D’s of dog training: distance, duration, and distraction. Change only one at a time so the dog isn’t overwhelmed.
When the dog succeeds in a busy spot, celebrate loudly. A happy voice tells the dog that the hard work paid off.
Choosing the right toy for your breed helps keep focus when things get noisy.
Bottom line:Slowly add distance and real‑world distractions, rewarding focus each time.
FAQ
What age can I start teaching my dog to fetch?
You can begin as early as eight weeks if the puppy shows interest in toys. Keep the first sessions very short, just a few minutes, and use soft, easy‑to‑grab toys. If the pup is older, make sure any joint issues are cleared by a vet before you start.
How many times a day should I practice fetch?
Two short sessions of 10‑15 minutes each work well. Short, frequent practice beats one long, tiring session. This fits the research finding that about 11 minutes per step is enough for solid progress.
My dog drops the toy halfway back. What should I do?
Teach a “Hold” cue first. Reward the dog for keeping the toy in his mouth for a few seconds, then gradually increase the time. When he reliably holds, add the “Bring It” cue. If he still drops, use a gentle “Drop it” command and reward the drop.
Can I use a frisbee instead of a ball?
Yes, if your dog likes catching in the air. Start with low‑throws so the dog can see the disc. Some breeds, like Border Collies, excel at frisbee, while others may prefer a ball that rolls.
Is it okay to use a leash while training fetch?
A long line is helpful for early distance work. It prevents the dog from running off and lets you guide him back gently. As confidence grows, phase out the line.
Why does my dog sometimes ignore me when I call?
Distractions compete for the dog’s attention. Practice recall in a low‑distraction area first, then add one distraction at a time. High‑value treats make coming back more rewarding than the distraction.
Should I reward with treats every time?
Use treats for new steps, then move to random reinforcement. Praise, a quick play burst, or a favorite toy can replace treats once the behavior is solid.
How do I know when to move to the next step?
When the dog performs the current cue reliably five times in a row without hesitation, it’s time to add the next piece. Consistency beats speed.
Conclusion
Teaching fetch is a mix of the right gear, clear cues, short happy sessions, and steady challenges. Start with a safe toy and space, click to mark the “Take It” moment, add the “Bring It” cue, then stretch the game with distance and real‑world distractions. Keep each practice under 15 minutes, use treats wisely, and celebrate every win.
Want more on positive reinforcement? on positive reinforcement dog training for deeper tips.
According to ASPCA’s training principles, short, fun sessions built on rewards are the most reliable way to teach new skills.
Bottom line:A clear plan, patience, and lots of praise turn fetch from a game into a trusted skill for your dog.