
Ever wish your dog would just sit, stay, and actually listen when you need them? In the next few minutes I’ll break down the exact steps, plus the little tricks pros use, to turn that wish into a reliable skill, no matter if you’re in the living room or at the front door.
We’ll cover how to pick a clear cue, build duration, add distance, layer distractions, and proof the stay in real‑world spots. By the end you’ll have a solid plan you can start using today.
Step 1: Introduce the Stay Cue
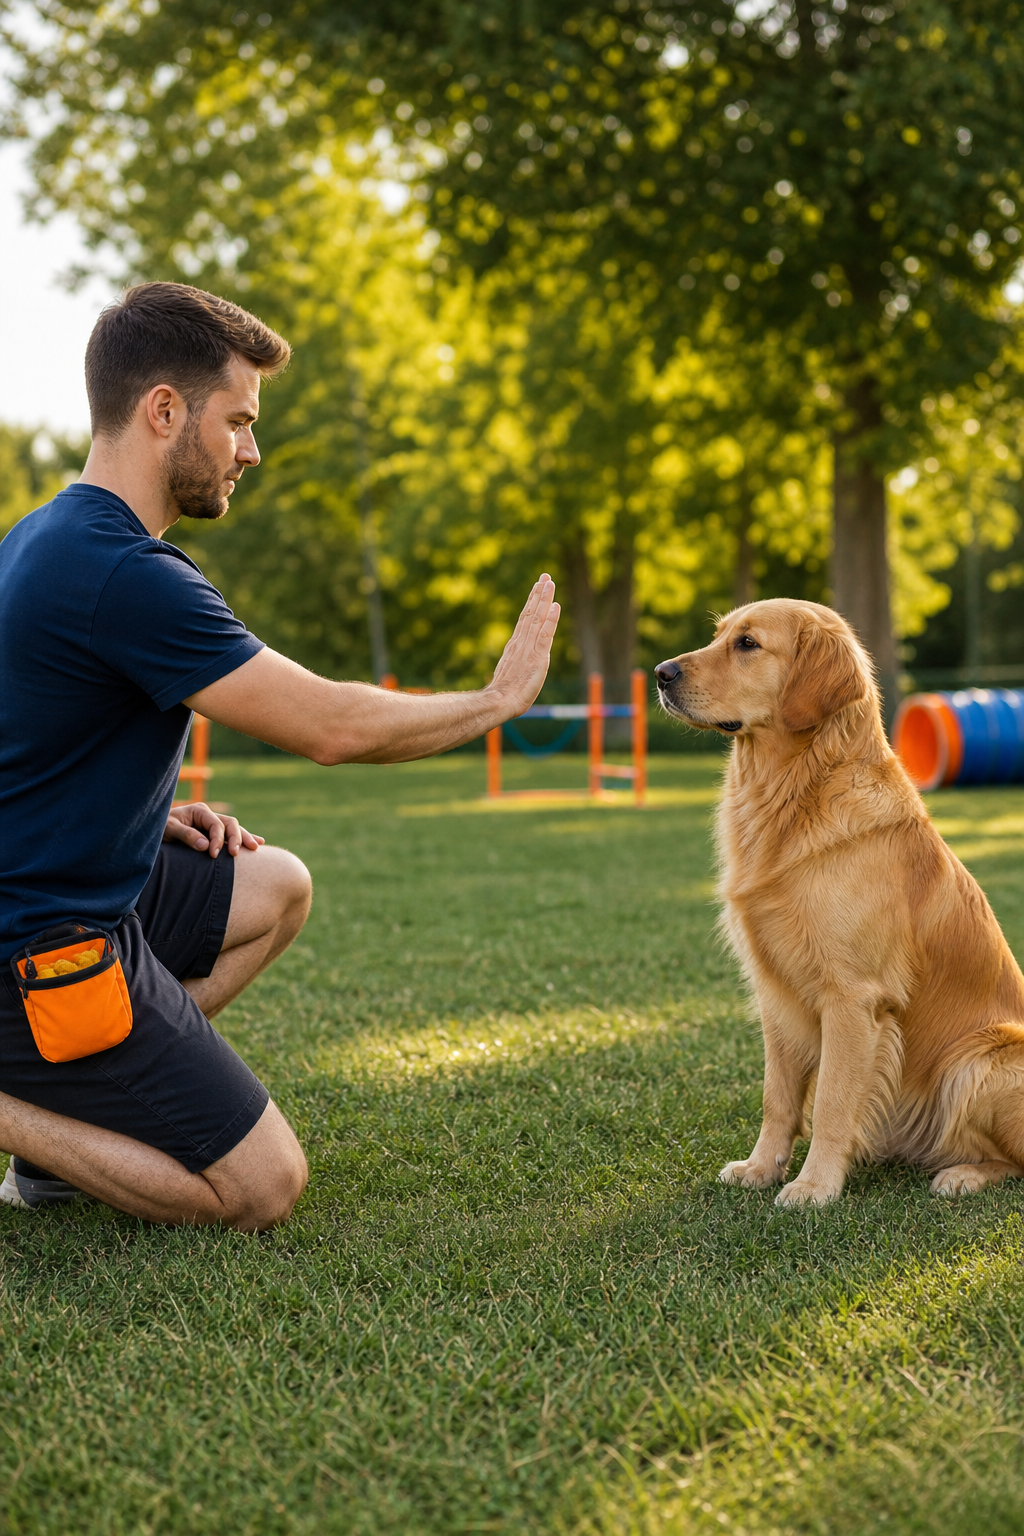
First thing you need is a cue that tells your dog to hold still. Most trainers use a short word like “stay” and a flat hand palm‑out signal. The word should be consistent; the hand signal helps dogs who rely more on visual cues.
Start in a low‑distraction area. Have a few pea‑size treats in your pocket. Ask your dog to sit, then say the cue word and show the hand. If they move, gently guide them back with a leash or a light tether, then reward the moment they stay for a split second.
Repeat this a handful of times. Once they can hold the position for one‑second, begin adding a release word such as “ok” or “free”. The release lets them know the exercise is over.
According to Cornell’s veterinary guide, the stay cue becomes more reliable when you pair it with a clear release. This two‑step pattern helps dogs understand that the cue is a temporary hold, not a permanent command.
When you see progress, start using a short leash to keep the dog from wandering off. This gives you control while the dog learns the cue.
Step 2: Reward the Stay Position
Now that your dog knows the cue, you need to make staying worth something. Use high‑value treats, small pieces of chicken, cheese, or a favorite soft bite.
Ask for a sit, give the stay cue, and wait a moment. As soon as the dog holds the position, mark the behavior with a quick “yes!” or a clicker, then give a treat. The timing of the marker is critical; it tells the dog exactly what earned the reward.
If the dog breaks the pose early, do not punish. Simply release them, wait a few seconds, and try again. This keeps the session positive and avoids fear.
Gradually increase the hold time in small increments, one second, then two, then three. Keep the rewards frequent at the start; later you can thin them out to every few seconds.
Our own positive reinforcement dog training guide recommends shaping the stay by rewarding each successful second before moving on to longer holds.
Pro tip: Use a treat pouch on your hip so you can hand out rewards without breaking eye contact.
Step 3: Add Distance Gradually
With duration under control, the next challenge is distance. Start just a step back, then give the stay cue. If the dog holds, reward and return to them.
Increase the distance one foot at a time. Each new length should feel easy before you add another. If the dog cracks, step back down to the last successful distance.
Remember to keep your posture relaxed. Dogs read your body language. A calm stance signals that you’re in control.
Mix up the direction you step, sideways, diagonal, or even behind a piece of furniture. This prevents the dog from learning a single pattern.
When you reach about ten feet, start walking away for a few steps, then turn back and release.
If you ever feel stuck, our clicker train a dog article explains how a clicker can sharpen the distance cue by giving a precise marker.
Step 4: Introduce Distractions Incrementally
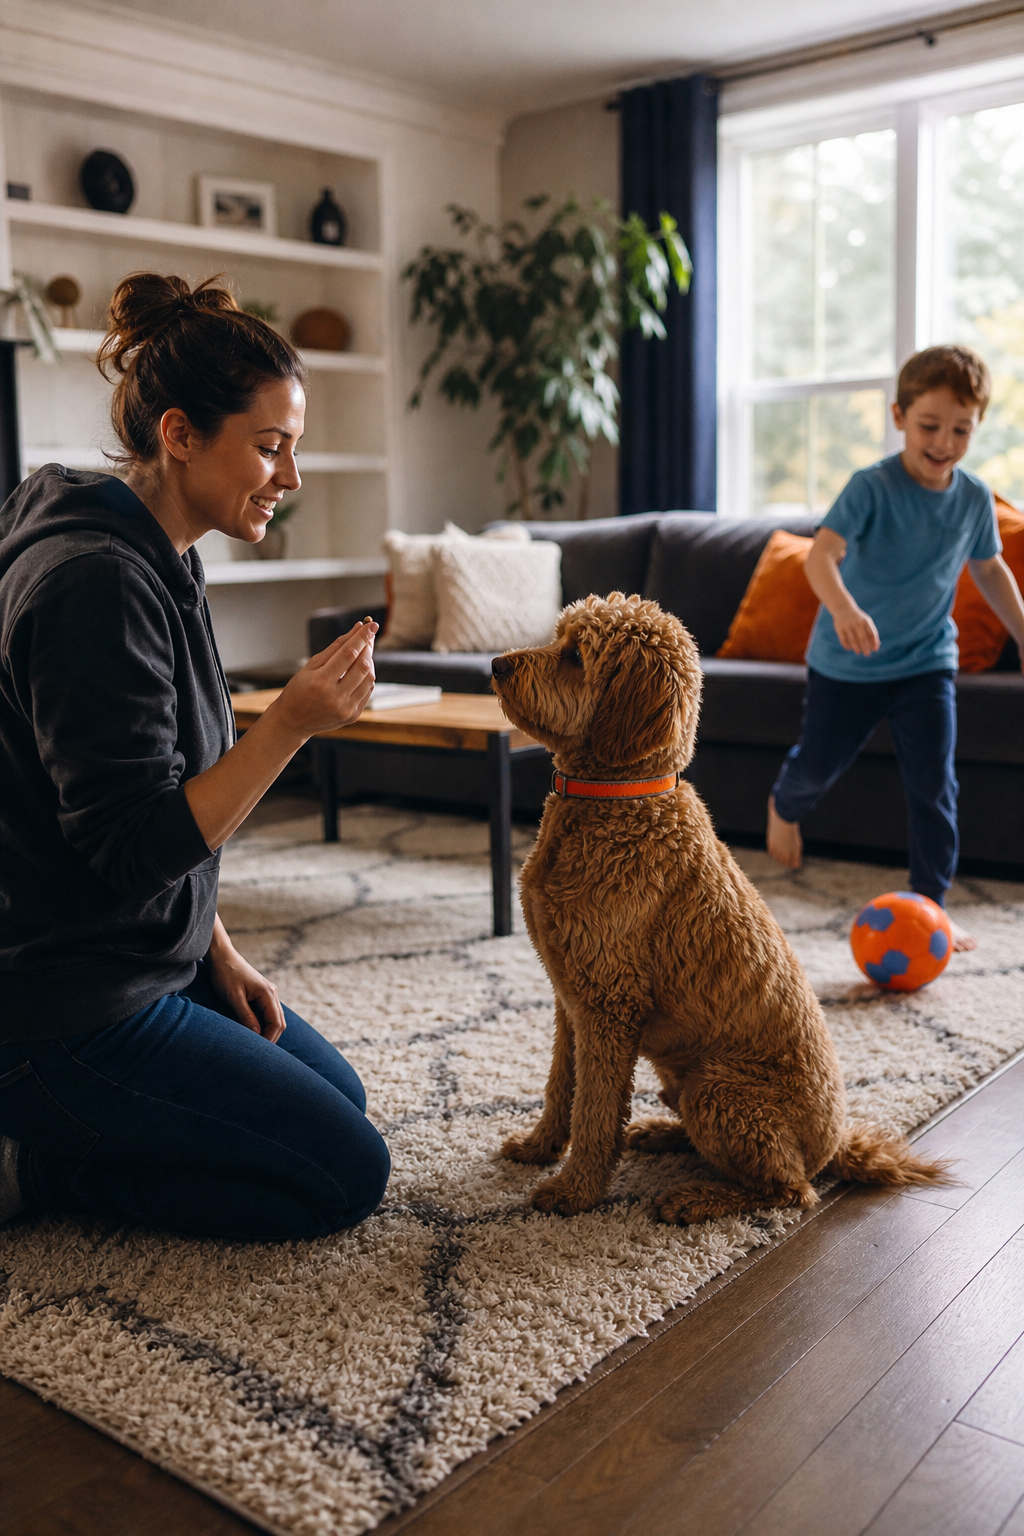
Distractions are the toughest test. Start with a mild sound, maybe a door closing or a toy rattling, while the dog stays.
When the dog remains calm, reward. If they look away, gently bring their focus back with a “watch me” cue, then re‑issue the stay.
Gradually raise the difficulty: add a moving toy, a visitor walking by, or a sudden bark. Each new element should be introduced while the dog is still succeeding at the previous level.
Keep sessions short. A five‑minute burst of focused training beats a long, sloppy hour.
The “four Ds” framework, duration, distance, discrimination, distractions, helps you remember what to test next. Discrimination means the dog knows the stay cue even when other commands are nearby.
Step 5: Proof the Stay in Real‑World Settings
All the work in the quiet room is useless if the dog cracks at the front door. Bring the stay cue to real life: hallways, car doors, parks, and busy streets.
Start with an inside door. Ask for a sit, give the stay cue, and slowly open the door a crack. If the dog holds, reward and close the door. Increase the opening width and the time the door stays open.
Next, practice in the yard. Place a mat or a “place” marker, ask for a stay, then walk a few steps away. If the dog stays, call them over with a release word.
Finally, try a public space. Choose a low‑traffic time, ask for a stay near a bench, and let a few passersby walk by. Reward the calm hold.
When you see the dog succeed in three different spots, you’ve built a reliable stay.
According to Wikipedia’s entry on positive reinforcement, rewarding the correct behavior strengthens the neural pathways that make the cue stick.
“A stay command can be a lifesaver when a dog darts toward traffic.”
Conclusion
Teaching a dog to stay isn’t magic; it’s a series of tiny steps that build on each other. Start with a clear cue, reward every second, add distance one foot at a time, sprinkle in distractions, and finally test the skill in the places you care about most.
Remember to keep sessions short, stay patient, and always end on a high note. Your dog will learn faster when you celebrate each tiny win.
If you want more detailed drills, on how to teach a dog to sit. It dives deeper into the foundation that makes a stay possible.
FAQ
What’s the difference between “stay” and “wait”?
“Stay” asks the dog to hold a specific position until you release them, while “wait” lets the dog stay in place but may allow them to move once you give a release cue. Use “stay” for precise positioning, especially at doors or on a mat. “Wait” works well when you want the dog to pause before moving forward, like before crossing a street.
How long should a beginner aim for a stay?
Begin with one‑second holds. Once the dog can reliably hold for three seconds, increase by two‑second increments. Many owners find a 20‑second stay a good early milestone before adding distance. The key is consistency, not speed.
Can I use a clicker instead of a verbal marker?
Yes. A clicker gives a precise sound that marks the exact moment the dog stays. Pair the click with a treat, then phase out the click once the cue is solid. Clicker training works especially well for dogs that respond better to sound than to a word.