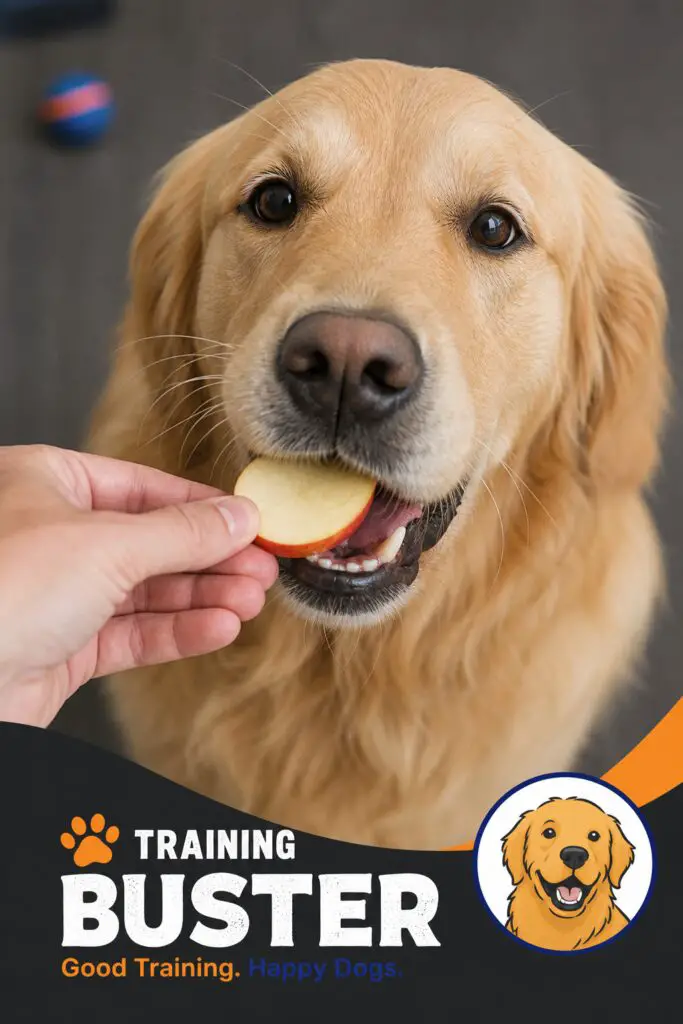
Dogs pull. It wears you out. It can make walks stressful and unsafe. But with a clear plan, you can turn every walk into a calm, enjoyable routine for you and your furry friend. This guide from Training Buster walks you through a usable, step‑by‑step method to stop a dog from pulling on leash. You’ll learn why dogs pull, how to choose the right gear, how to train with positive reinforcement, and how to tailor the plan to age and temperament. By the end, you’ll have a solid, repeatable routine you can start today, no drama, just steady progress. We’ll keep it simple, kind, and effective, so you feel confident walking your pup rather than wrestling the leash. You’ll also see how these steps fit real‑world life, from busy city blocks to quiet suburban sidewalks, so you can adapt as your dog grows. Let’s get started with Step 1 and build momentum from the ground up.
Step 1: Identify Why Your Dog Pulls and Debunk Common Myths
Dogs pull for reasons that are usually a mix of excitement, motivation, and habit. You’ll see the pull when your pup’s nose hits a fresh scent, when they spot a neighbor dog, or when they feel a surge of energy from a walk that seems like playtime. The first job is to observe, not to scold. Our goal is to map out the triggers and the times of day when pulling is strongest. You’ll notice it most at corners, near distractions, or when your dog is eager to reach something they associate with relief or reward, sniffing a patch of grass, meeting a dog, or chasing a fluttering leaf. When you understand the why, you can tailor the plan to reduce the pull through structure and cues rather than force. In this step you’ll learn to log incidents, identify patterns, and separate common myths from usable truths. A classic myth is that leash pulling is about leadership or dominance. In truth, most dogs pull because they’re excited or rewarded by forward motion. A different myth is that short leashes solve the problem by tightening control. The data shows that many pullers improve with a longer, controlled leash combined with steady cues, rather than a constant tug of war. Recognizing these myths helps you stay focused on skill development, not on chasing a label or a quick fix. Think about it this way: you’re teaching your dog to read your body language and cues. When your dog learns to respond to cues you provide, moving at your pace, maintaining slack in the line, and looking at you for the next cue, you create a flow that makes distance and timing work for both of you. A usable tip is to start a simple log: note the day, time, location, the distraction, your dog’s reaction, and what cue or tool you used. This creates a real, repeatable map for progress. It helps to pair a few real‑world examples with a plan. A young retriever might pull toward a park, a terrier mix might sprint toward a scent trail, and an older dog might brace for a walk that feels like uphill when the weather is hot. Each dog has their own version of the same problem, and the steps below adapt to these realities. We’ll begin with the right equipment in Step 2, because the gear you choose shapes what’s possible in Step 3. For readers who want a quick overview of the mind‑set behind leash training, you can also explore our broader guide on dog walking techniques. How to Train a Dog to Walk on a Leash offers a clear, beginner‑friendly progression. This section draws on both field experience and widely shared training insights. For a broader context on leash concepts, in Wikipedia, which outlines general leash use and safety considerations that frame usable training today. These ideas align with our emphasis on calm movement, positive cues, and consistent practice. And as you plan your baby steps, remember that behavior happens for a reason; your job is to read that reason and respond with a plan that matches your dog’s needs.
Tip: Start a daily 5‑to‑10‑minute short practice session before longer walks. Short sessions build habit and confidence more than long, sporadic efforts. And if you want to see a quick example of how to apply these ideas in a real setting, above.
Key Takeaway: Understanding why your dog pulls helps you choose the right tools and cues. Ground your plan in calm cues, reliable rewards, and consistent practice. For dog psychology quick reads, this page provides a helpful baseline on training principles that underlie the methods we describe here.
Pro Tip:If you’re unsure where to start, note the top three distractions that trigger pulling in your daily walks and plan targeted mini‑drills around those cues. This makes Step 1 actionable and repeatable.
As you move forward, you’ll start to see how the right tools and cues turn understanding into practice. For further ideas on how to train with positive reinforcement, see our step‑by‑step guide linked above. And remember, your dog’s behavior is a signal, read it, respond with a calm plan, and progress follows.
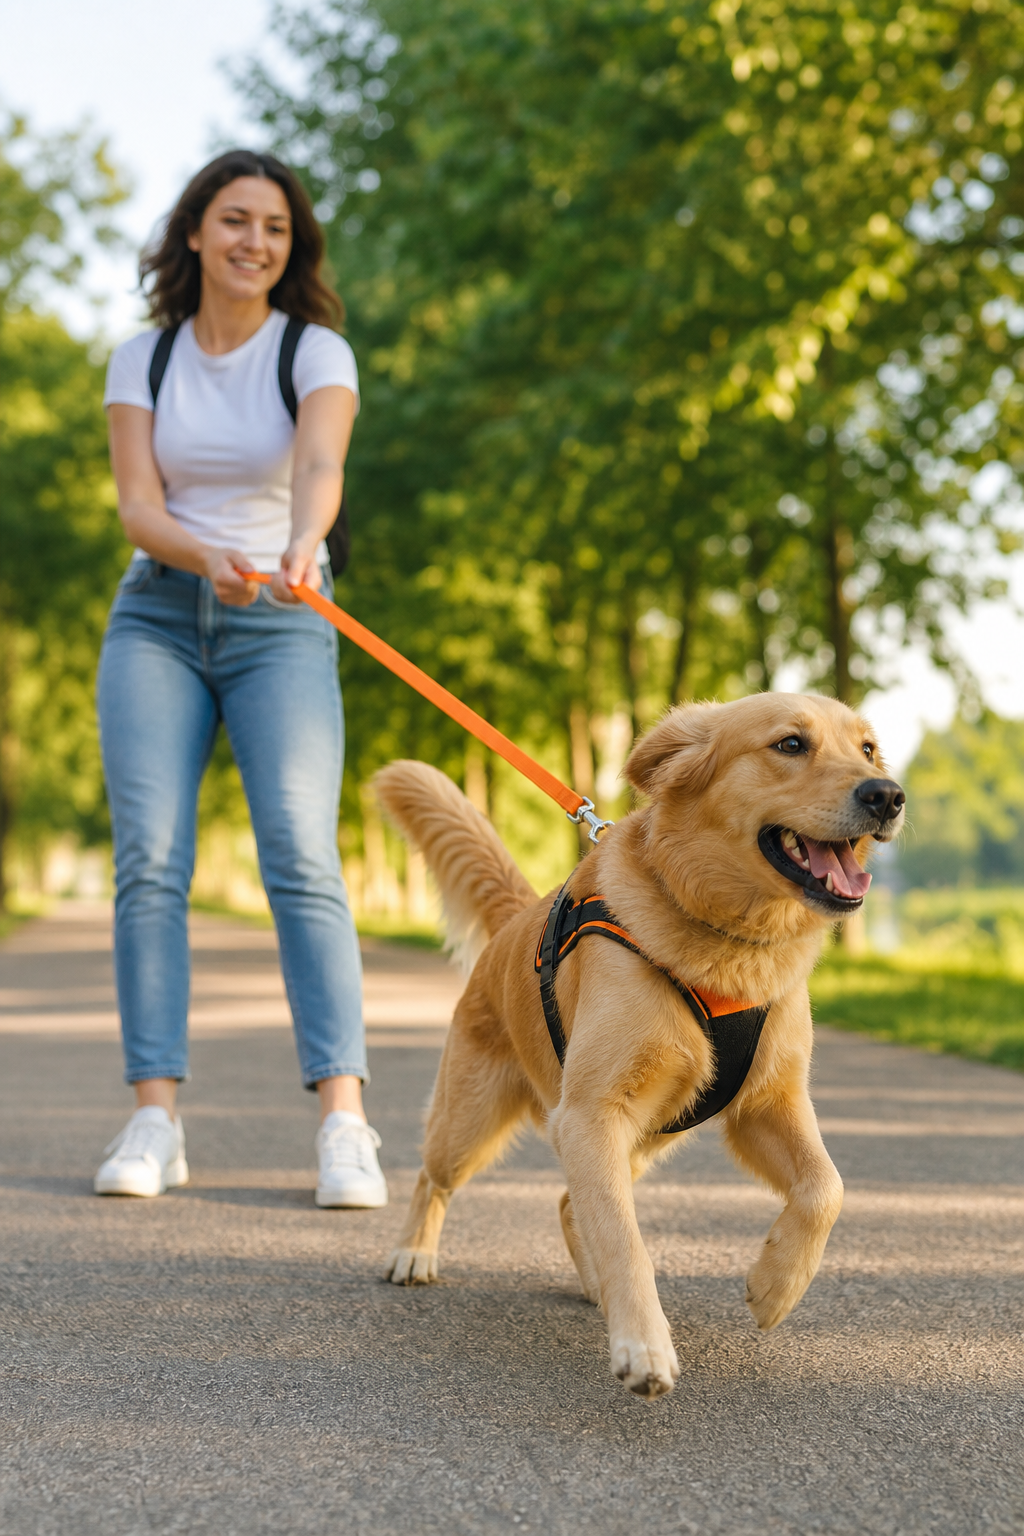
Step 2: Pick the Right Equipment , Uses, Gentle Leaders, and Head Halters
Gear matters. The goal is to give your dog the right kind of feedback at the right time, without causing harm or fear. There are several proven tools that can help you steer your dog back to you when pulling starts. The flat buckle collar remains a solid option for many dogs, especially puppies and small‑to‑medium dogs who respond well to gentle guidance and clear cues. If your dog pulls hard, a front‑clip use can redirect forward momentum without choking. A head halter or Gentle Leader can help you guide the head and set the dog up for better steering on the walk. The key is to introduce gear gradually and pair it with reliable cues and rewards, so the dog doesn’t see the tool as a punishment but as a cue to work with you.
Here’s a usable, real‑world approach. Start with a well‑fitting flat buckle collar, sized to sit high on the neck with two fingers’ room to walk. Practice basic cues at home first, sit, watch, heel, while the leash is slack. If you see your dog pulling in even small stimuli, switch to a front‑clip use next. The use redirects energy and offers a respectful way to guide the dog without pulling at the neck. For dogs with strong forward pull, a head halter can offer more precise steering, but you should phase it in slowly and practice in a quiet space before venturing into busier areas. The aim is to reduce pressure and create a positive association with your body language and cues. The equipment you choose should align with your training plan. If you decide to use a Gentle Leader or a front‑clip use, ensure you have a plan to wean off the device as your dog’s leash manners improve. The goal is to use gear as an aid, not a crutch. For more on how to pair equipment with timing cues, you can explore our training page on walking with a leash. Positive Reinforcement Dog Training: Benefits and Techniques helps you connect equipment choices with reward timing and cueing for lasting change. This section also links to usable, safety‑oriented gear considerations you’ll need in daily life. For a quick, usable read on the best training approach using equipment, see our step‑by‑step leash walking guide. And if you’re curious about how to move from basics to more advanced methods, we’ll cover how to progress your training in the next step. This material aligns with the broader dog training field and emphasizes humane, reward‑based methods. If you want a deeper look at general leash concepts and safety considerations, this overview on leash usage provides useful context and background. While gear helps, it’s your timing and consistency that drive results.
How to Train a Dog to Walk on a Leash offers a clear progression from gear to cues, and it pairs well with the equipment choices you’ll see here.
Pro Tip: Always test gear in a calm room first. Observe how your dog reacts to the use, then gradually increase the level of challenge as your dog stays relaxed and responsive. This gradual approach stops gear from becoming a source of stress and instead makes it a bridge to better leash manners.
- Flat buckle collar: good for calm, cue‑driven dogs; monitor for neck irritation or discomfort.
- Front‑clip use: redirects pulling without neck pressure; useful for strong pullers.
- Head halter: offers precise steering; best with gradual introduction and lots of praise.
Bottom line: Equipment matters, but timing, cues, and rewards drive real change. If you want more on how to use rewards with gear, on positive reinforcement training linked above. This is a usable, safety‑first approach that helps you stay in control without causing fear or pain.
How to Train a Dog to Stop Jumping on People offers a companion path for learning how to redirect a dog’s energy in social settings, should your daily walks lead to interactions with people and other dogs.
In the next step, you’ll combine equipment with positive reinforcement and instant feedback to shape the right walking behavior.
Note:The table above is a quick guide. Your choice should fit your dog’s size, temperament, and your training plan. For a deeper look at equipment choices, you’ll find more detail in our dog training resources and product reviews on Training Buster.
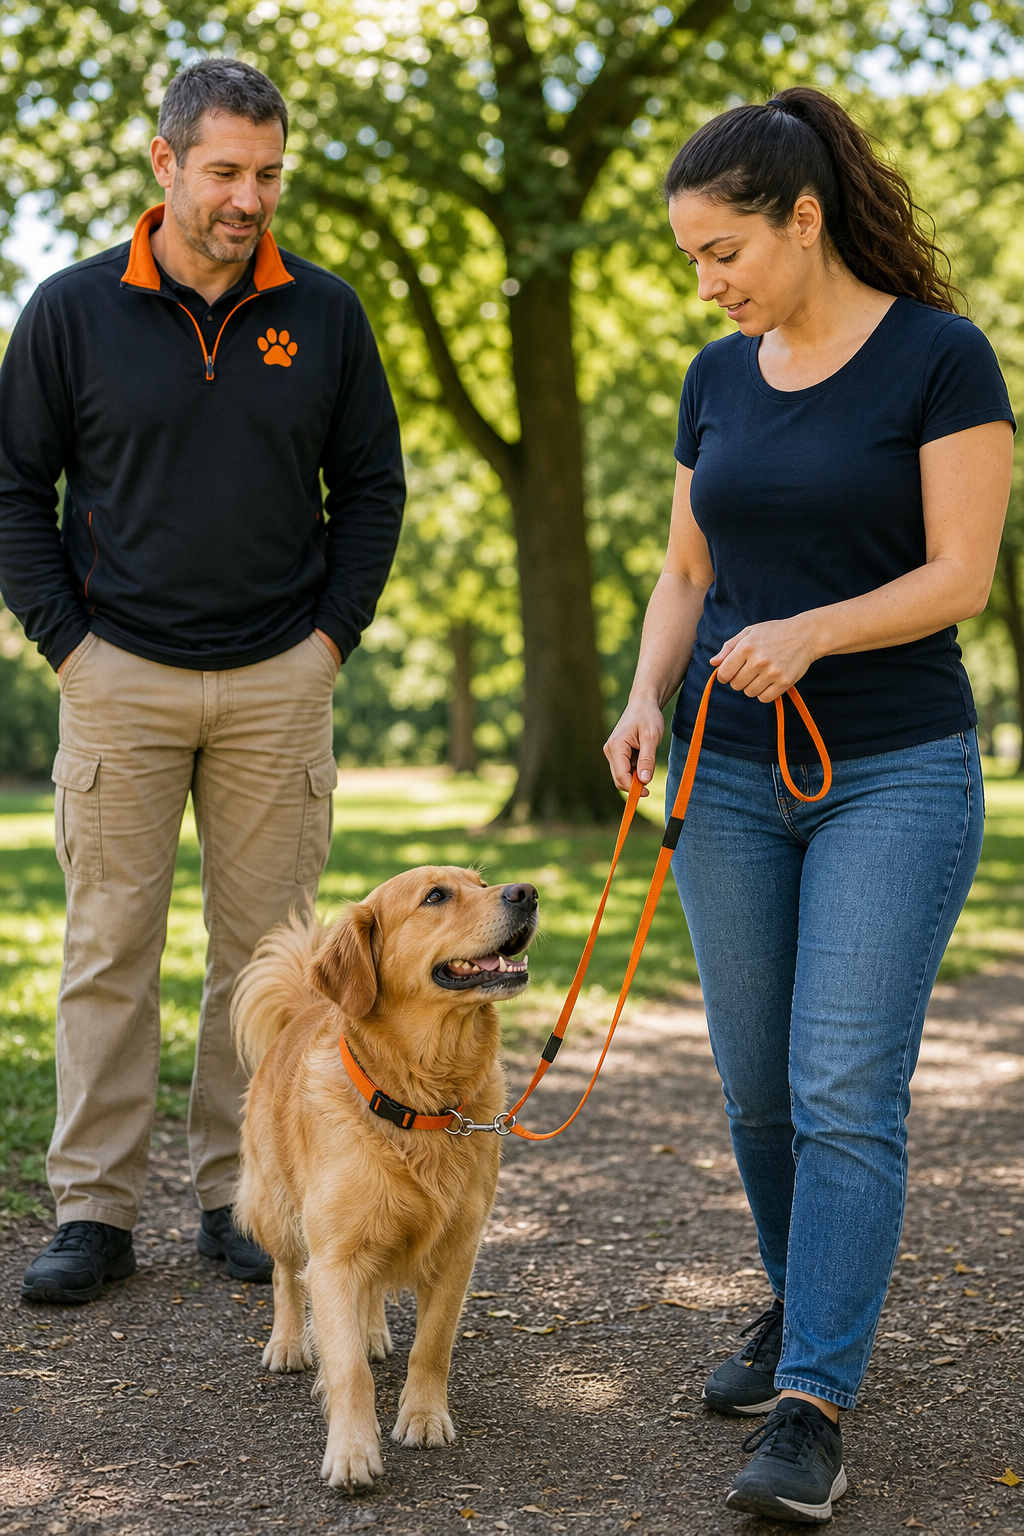
Step 3: Train with Positive Reinforcement and Instant‑Feedback Techniques
Now the fun begins. Positive reinforcement is about rewarding the right behavior at the exact moment it happens. The moment your dog anchors near your side, or when the leash stays slack, you deliver the reward. The key is timing. If you wait even a second too long, the dog associates the reward with the next position rather than the alignment you want. The “J‑shape” reward is a simple, usable concept. You reward the dog for taking a step toward you, then for staying at your side, and finally for following your cue from a distance. It’s a natural progression that keeps the dog engaged and helps them read your body language without becoming anxious. In practice, use a marker (a clicker or a consistent verbal cue like “Yes!”) to pinpoint the exact moment the dog complies. Then deliver a high‑value reward, treats, a favorite toy, or a quick play session. For dogs who are more motivated by play, you can pair the cue with a short tug or a romp in a safe space after a successful walk. If your dog is more food‑forward, keep treats small and frequent during early training sessions; as your dog improves, you’ll reward less often but with higher value rewards for the best times. A usable plan is to build a simple ladder of cues. Start with the basic “watch me” cue while the dog checks in with you along the walk. When the dog looks at you, you reward. Then add a step forward with a loose leash as you move. The aim is to create a smooth, predictable flow. Add a distraction, like a parked car or a person at a distance, and reward the dog for maintaining focus. If the dog starts to pull, you stop, reset to a calm posture, and re‑engage with a cue before moving again. This “Stop‑go” or pause approach teaches the dog that pulling does not move the walk forward, while following cues does. The training becomes a pattern your dog can anticipate and follow rather than react to. Important notes: avoid punishment or harsh correction. Punishment creates fear and can derail training. This guide centers on calm communication, consistent cues, and consistent rewards. The way you pair cues with rewards matters more than the tool you use. The goal is a dog who understands that staying close and listening to you makes the walk smoother and more rewarding than pulling. If you want to read more about reward‑based methods, our guide on Positive Reinforcement Dog Training is a good continuation.
We’ll introduce a few real‑world drills you can start this week. First, sidestep the common pitfall of rewarding only at the front end of the walk. Instead, reward when your dog checks in, even if you’re moving slowly. Second, practice a “stop and go” routine. Pause for a count at two to three seconds when you sense a pull. If the dog redirects toward you, reward and resume on a calm pace. Third, implement a “front‑check” drill: start with your dog on your left, use a small lure or body cue to guide them forward, and reward when they stay in line with your hip. These drills are simple but powerful. Real progress comes from consistent practice, not occasional effort. Head back to your gear and cue work after you master the basics. For more detail on cue timing and reward structure, our training guide on leash walking covers these concepts with progressive steps. In addition, consider how to tailor your plan to your dog’s temperament, some dogs respond more to praise than treats, others to play or a combination of rewards. The goal is to create a reliable, repeatable routine you can use in any walk setting.
Operational takeaway: Positive reinforcement with precise timing is the foundation of how to stop a dog from pulling on leash. The more you practice with clear cues and reliable rewards, the faster you’ll see results in real life. If you want a quick reference to build your plan, our step‑by‑step leash walking page is a great place to start.
As you progress, you’ll likely want more material on age‑specific strategies and common mistakes. For puppy readers, s and age‑appropriate drills. If you’d like more context on how to use positive reinforcement in everyday life, our core guide on dog training provides a complete picture of the core principles behind these drills.
Internal resource: Positive Reinforcement Dog Training: Benefits and Techniques gives more depth on how to apply these techniques in real home life.
We’ll wrap this step with a simple, repeatable sequence you can copy: watch → cue → reward → release. That loop, practiced daily, will build a natural flow that reduces pulling and improves your dog’s enjoyment of walks.
How this links to real life: A dog that learns to walk on leash with positive reinforcement will translate the same calm, focused behavior to crowded streets, parks, and sidewalks. The training mindset you develop here makes the plan strong and adaptable, no matter the day’s distractions. If you want to explore how positive reinforcement can apply to jumping or other behaviors, our guide on training to stop jumping provides step‑by‑step exercises that complement these leash drills.
To read more about age‑specific approaches and how to adjust the plan for dogs as they grow, take a look at our age‑tailored leash training content. And if you’re curious about the science behind these methods, the Merck Veterinary Manual provides a usable overview of dog training and enrichment that supports humane, reward‑based training (see citation below).
,,
Step 4: Avoid Common Mistakes and Tailor Training to Age
Age matters in leash work. Puppies have energy, curiosity, and a short attention span. Adults bring habits, triggers, and sometimes anxiety. The most common mistakes for leash work cross age lines but show up in similar ways: inconsistent timing, mixed signals, and a habit of rewarding too late. Start with the basics and build a ladder of drills that grows with your dog’s capacity. Puppy parents should emphasize short sessions, frequent rewards, and clear boundaries. Adult dogs benefit from a longer, clearer cue sequence, with more deliberate pauses and distance work to build self‑control. A frequent pitfall is the retractable leash. It teaches dogs to pull or drift as they can still move forward even when you pull back. Another common error is letting the dog switch sides during walks. Consistency matters for how to stop dog from pulling on leash. If your dog tends to pull toward sights or smells, you can stage a deliberate side change during the walk, pause, reset, and guide them to continue at your chosen side. This teaches the dog to stay attuned to your cues and to respect the pace you set. The third pitfall is skipping pre‑walk exercise. A quick five‑minute warm‑up can burn excess energy and improve focus for the rest of the walk. Distraction progressions are also essential. Start with a quiet yard drill, then move through a hallway, then a quiet street, and finally a busier park. Each level of distraction should be mastered before moving to the next. You’ll build a predictable training plan that your dog can follow. The aim is not to starve your dog of stimulation but to train your dog to honor your pace and cues, even when the world offers temptations. This step also addresses usable age considerations: puppies often need more frequent, shorter sessions; older dogs may respond better to longer, structured sessions with targeted rewards. We also want to avoid the trap of “watch for danger” training. That approach often leads to overarousal. Instead, aim for consistent cues and predictable responses. Your dog will learn to rely on your body language and your cue language, which is the heart of how to stop dog from pulling on leash. If you’d like to explore a broader discussion of common mistakes and how to fix them, our introductory guide covers this topic in depth. For an evidence‑based, broad perspective on humane training practices, you can read the American Veterinary Medical Association guidance on dog training and welfare. American Veterinary Medical Association: Dog Training.
In sum, tailor training to age by adjusting session length, distraction level, and the reward strategy. Puppies: shorter sessions, high‑frequency reinforcement. Adults: longer sessions, more deliberate cues, and a plan to maintain progress over time. This is how you build the resilience and precision that stops leash pulling in real life, not just in a controlled test setting.
Final note: if you want a broad, step‑by‑step beginner plan that ties all these ideas together, Training Buster offers a unified, beginner‑friendly guide that bundles leash length control, positive reinforcement, and equipment use into one place. For additional context on how to apply these practices to social settings, we also offer detailed guidance on training dogs to walk calmly around people.
Key takeaway for this section: Age affects energy, focus, and needs. Use shorter, more frequent drills for puppies; longer, structured sessions for adults. Stay consistent with cues, rewards, and side position. And if you want a quick reference on how to adjust your plan for different ages, consider this fundamental approach to different life stages while maintaining the core principle of rewarding the right behavior at the right moment.
To learn more about age‑specific approaches, check our puppy and adult dog training resources. This approach helps you stop dog from pulling on leash in a usable, enduring way.
How to Train a Dog to Stop Jumping on People provides a complementary guide for handling impulsive behaviors in social settings, which often intersect with leash work when you’re on walks or greeting people and other dogs.
FAQ
Now that you have the core steps, here are some quick answers to common questions you may have as you implement this plan.
1) How long does it take to stop leash pulling?
Expected timelines vary by dog. A motivated dog with consistent practice can show steady improvement within 2, 6 weeks, especially with short, daily sessions and a clear cue system. Puppies may take longer to build focus, while high‑energy dogs may need more frequent sessions and a longer distraction ladder. The key is consistency and quality: good timing, reliable rewards, and a stable training environment. Keep notes on progress and adjust the pace to your dog’s needs without rushing through steps.
2) Can I use a retractable leash during training?
Retractable leashes are generally not recommended for leash training. They can teach dogs to pull because they still feel motion and forward pressure even when you try to shorten the line. For beginners learning how to stop dog from pulling on leash, a fixed length leash, typically 4, 6 feet, gives you better control and predictable feedback. You’ll also avoid inconsistent cues that come with variable leash tension. Use a long line only after you’ve established basic loose‑leash walking with a fixed length.
3) Should I switch gear during training?
Gear transitions are a normal part of progress. Move from a flat collar to a front‑clip use or head halter as needed, but do so with careful, gradual exposure. Don’t switch back and forth mid‑walks; plan a short, dedicated practice day to acclimate to each piece. The goal is to build confidence and reduce pulling, not to confuse your dog with constant changes. If you’re unsure, keep a simple log and consult a trainer for a tailored plan.
4) How do I handle distractions like dogs, cars, or people?
Gradual exposure is key. Start in a calm space, then add distractions in small steps. Practice at the edge of the distraction at first, then step closer as your dog maintains focus. Reward calm behavior near the trigger and slowly increase distance. With time, your dog learns to ignore the trigger or move with you on cue instead of pulling toward it. Patience and consistency beat bursts of intensity that lose momentum.
5) Do age and breed affect the plan?
Yes. Younger dogs typically require more frequent, short sessions to use curiosity and impulse control. Larger or higher‑drive breeds may need longer conditioning periods and a structured, distraction‑graded plan. Always tailor your plan to your dog’s temperament, energy level, and health. When in doubt, start slow, track progress, and adjust weekly rather than daily to maintain momentum without causing frustration.
6) How do I keep the walk enjoyable while training?
Keep walks as a shared, rewarding activity. Use a mix of praise, treats, and brief play to reinforce good behavior. End sessions on a positive note, ideally with a relaxed walk to a favorite spot. If your dog tenses or pulls, pause, reset, and re‑engage with a cue you know they can follow. A calm, predictable routine makes walks something your dog looks forward to, not something to dread.
7) How can Training Buster help beyond leash work?
Training Buster offers a range of puppy and dog training guides, care tips, and product reviews designed to help new owners become confident, informed caregivers. Our resources connect usable behavior work with everyday life so you can apply what you learn to real situations, greeting guests, visiting the vet, or meeting new dogs on a walk.
Step 4 wraps up the usable plan to stop leash pulling. You’ve learned how to identify why dogs pull, the gear options that pair well with your training, how to train with positive reinforcement and instant feedback, and how to tailor the approach by age. The big payoff is a smoother, safer walk you both enjoy. As you put these steps into practice, you’ll start to notice a calmer dog by your side and a more confident you at the end of the leash. If you want a quick refresher, explore our leash training hub and pick the guide that matches your dog’s age and drive. And remember, Training Buster is here to help you with more than just leash work. Our resource library includes care, enrichment, and training techniques to keep your dog happy and healthy.
Conclusion
Throughout this guide, you’ve learned a usable, humane approach to stop a dog from pulling on leash. The core idea is to combine secure but flexible gear with precise timing and consistent rewards. Start by identifying why your dog pulls, then move through the equipment choices in Step 2, train with positive reinforcement in Step 3, and finish with Step 4’s age‑tailored adjustments and common‑mistake preventions. The result is a repeatable routine that translates from a quiet home to busy sidewalks. We know this works because it’s grounded in real‑world practice, not hype. If you’d like a complete, beginner‑friendly plan that bundles all of these ideas into one resource, check out Training Buster’s complete leash‑walking guide and related dog training resources. And if you’re ready for more, our other guides offer step‑by‑step approaches to build on this foundation and keep your beloved pup on the path to great leash manners.