Clicker training can turn a chaotic pup into a focused partner. It works because the click marks the exact moment a good action happens, then a treat seals the lesson. In this guide you’ll walk through every step , from picking the right clicker to fixing common slip‑ups , so you can train with confidence.
We’ll break the process into six clear steps, add real‑world tips, and point out the pitfalls most guides miss. By the end you’ll have a repeatable routine that works for any breed.
Step 1: Gather Your Clicker Training Supplies
First, you need a clicker that’s easy to press and loud enough to cut through a busy room. Most trainers recommend a small metal clicker with a rubber cap; it fits in a pocket and the sound is consistent.
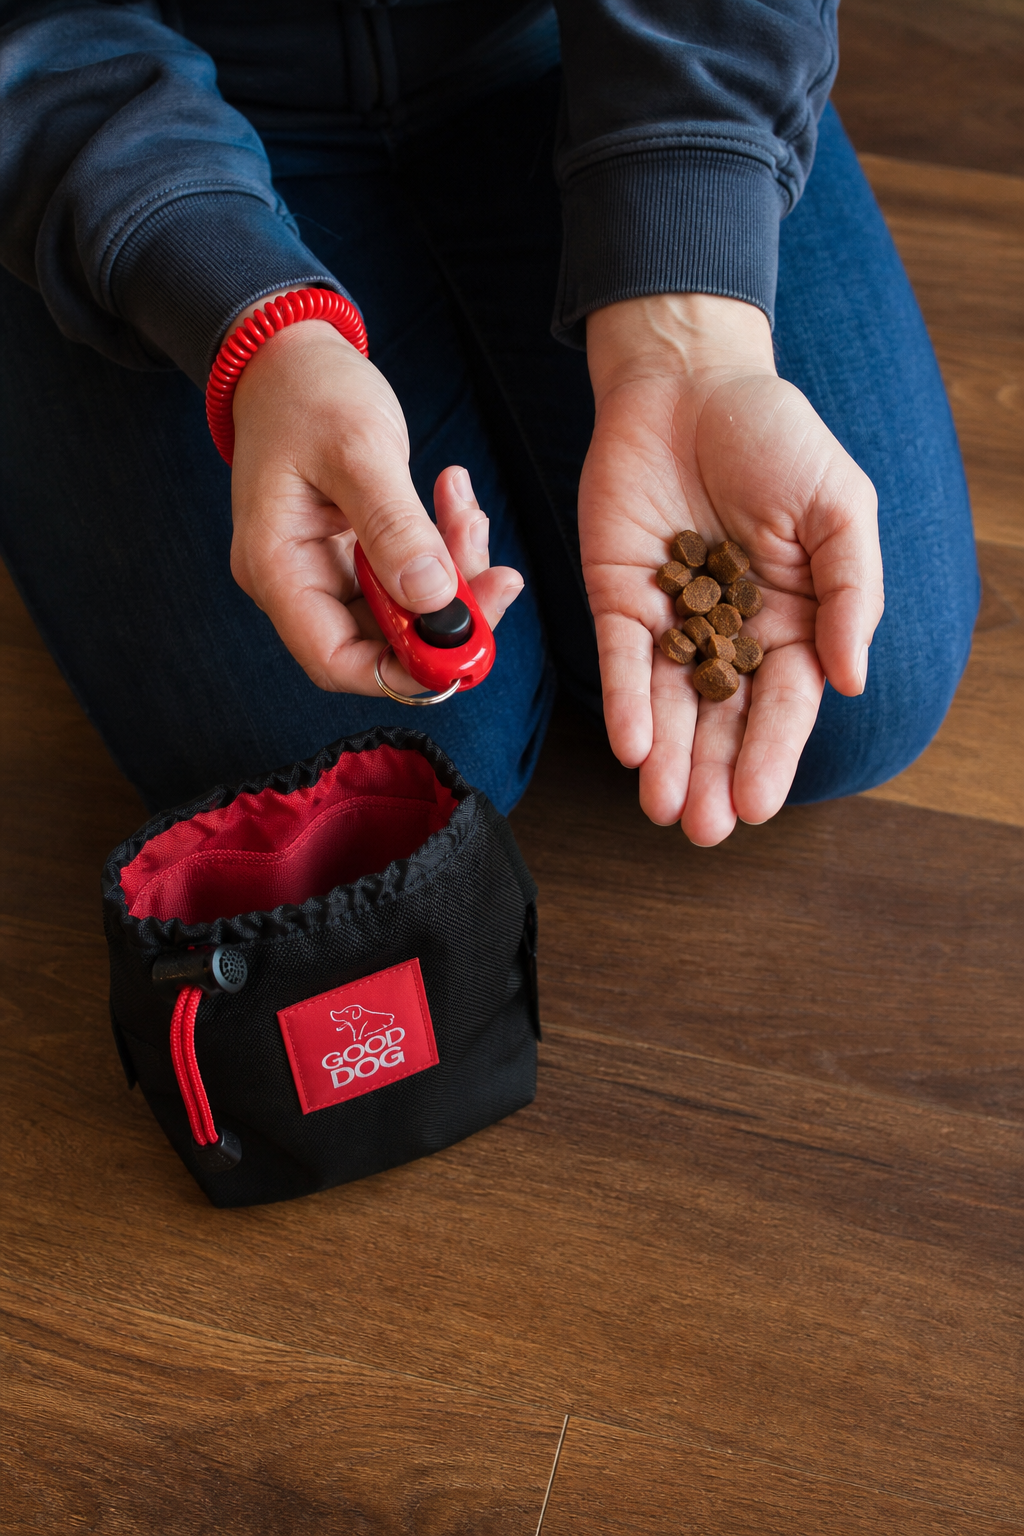
Next, choose high‑value treats. Treats should be soft, bite‑size, and something your dog can eat in under two seconds. High‑value training treats are formulated for this purpose , they’re small, smelly, and stay fresh.
Finally, gather a few training accessories: a treat pouch that clips to your belt, a short leash for focus work, and a quiet room where you won’t be interrupted.
When you have these items ready, you’ll be set for the next stage: teaching the clicker what it means.
Having the right tools reduces frustration for both you and your dog, letting you focus on learning the timing.
Step 2: Charge the Clicker (Pairing with Treats)
Charging the clicker means teaching your dog that a click always predicts a treat. Start by holding a treat in your hand, then press the clicker once and immediately give the treat.
Repeat this 10‑15 times in a calm spot. You’ll notice your dog start to look expectantly at you after the click , that’s the association forming.
Why does this work? Research shows that the timing of the marker is critical. Wikipedia explains that the click is a conditioned reinforcer, meaning the sound itself becomes rewarding once paired with food.
Keep sessions short , five minutes tops , so the dog stays engaged. If the dog loses interest, pause and try later.
Once your dog clicks and looks for a treat without you giving a cue, the clicker is fully charged. From here you can start marking real behaviors.
Training Buster recommends using a treat pouch that clips to your belt so you can keep hands free for the clicker.
Step 3: Capture a Simple Behavior (Nose Touch)
We start with a nose‑touch because it’s a natural move most dogs do on their own. Hold a treat just out of reach, near your palm, and wait for the dog to nuzzle your hand.
When the nose makes contact, click the clicker the instant the touch happens, then give the treat.
Practice this a few times until the dog looks for the click before the treat. The moment they understand the link, you’ve captured the first behavior.
Watch the timing carefully , a click that comes even a split‑second late can confuse the dog. University of Minnesota Extension notes that precise timing speeds learning.
Below is a short video that shows the exact hand placement and timing for a nose‑touch.
After a few successful captures, you can start adding a word cue like “touch”. Say the word just before you expect the nose‑touch, then click and treat.
Step 4: Add a Verbal Cue to the Behavior
Now that the dog knows the click marks a nose‑touch, it’s time to pair a word. Choose a simple, one‑syllable cue like “touch”.
Stand where the dog can see you, say “touch” in a calm voice, then wait for the nose‑touch. As soon as the dog makes contact, click and treat.
Repeat this 8‑10 times in a row. If the dog looks confused, drop the cue for a few rounds and let the click‑treat link re‑establish.
Once the dog reliably responds to the word, you’ve added a verbal marker that can be used for other tricks.
If you need a refresher on why positive reinforcement works, check out Training Buster’s guide on positive reinforcement dog training. It explains the science behind marking behavior.
Remember to keep sessions brief and end on a success. This builds confidence and prevents burnout.
Step 5: Shape More Complex Behaviors
Shaping means rewarding tiny steps toward a bigger trick. Let’s say you want to teach “roll over”. Start with the nose‑touch you already know.
Reward the dog for turning its head slightly toward the side. Click, treat, and repeat. Each time the dog adds a little more movement, click again.
Progressively require a larger turn before you click. When the dog rolls fully onto its side, add a verbal cue like “roll”.
If the dog gets stuck, go back a step. The key is to keep the click‑treat link tight, so the dog knows exactly what earned the reward.
Patience pays off. A well‑shaped behavior can be built in 15‑20 minute sessions over a few days.
Training Buster also suggests practicing the new behavior in different rooms to help the dog generalize.
Once the dog masters the roll, you can use the same shaping method for spins, waves, or even fetching specific toys.
Step 6: Troubleshoot Common Clicker Training Mistakes
Even seasoned owners hit snags. The most frequent error is mistimed clicks , either too early or too late. When that happens, the dog can’t link the click to the correct action.
Another common slip is forgetting to give a treat after the click. Without the reward, the click loses meaning and the dog stops responding.
Inconsistent clicking is also a problem. If you click only sometimes, the dog gets confused about which behaviors count.
To fix timing issues, practice the “click‑then‑treat” drill alone. Hold the clicker, press it, and instantly give a treat. Do this ten times until the sound and taste are paired in the dog’s mind.
If you miss a click, don’t try to back‑track. Instead, pause, reset, and start the trial again. Consistency beats speed when learning.
For more on avoiding mistakes, on common errors. It reinforces the need for exact timing and consistent rewards.
When you catch a mistake early, you can adjust the session and keep progress steady.
FAQ
What age can I start clicker training?
You can begin as early as eight weeks old. Puppies learn quickly, and the clicker’s clear marker helps them understand what you want. Start with simple actions like “touch” or “sit” and keep sessions under five minutes to match their short attention span.
Do I need a special clicker?
No. Any small device that makes a distinct clicking sound works. Metal clickers are popular because they’re durable and loud enough for most indoor settings. Some owners even use a smartphone app, but a physical clicker avoids accidental taps.
How many treats should I use per session?
Aim for 10‑12 treats per five‑minute session. Use high‑value treats that your dog loves, but keep them tiny so you can give many without overfeeding. If your dog seems bored, switch to a different flavor to keep interest high.
Can I use the clicker for off‑lead work?
Yes. Once the dog reliably follows a cue on‑lead, you can add distance. Click and treat when the dog responds correctly from a few feet away, then gradually increase the range. This builds reliability in real‑world situations.
What if my dog stops responding?
First, check timing. A delayed click or treat breaks the chain. Then verify you’re still using high‑value treats. If the dog is distracted, reduce background noise or train in a quieter spot. Consistency is key , revisit the charging step if needed.
Is clicker training humane?
Absolutely. Clicker training uses positive reinforcement only , no punishment or pressure. The click simply marks a behavior the dog already performed, then a treat rewards it. This method is endorsed by many animal‑behavior experts for its gentle approach.
How long does it take to teach a new command?
Most simple commands can be learned in 3‑5 short sessions, about 15‑20 minutes total. More complex tricks may need a week of daily practice. The key is to keep each session focused, end on a success, and practice in varied locations.
Can I combine clicker training with other methods?
Yes. Clicker training pairs well with verbal praise and leash cues. For example, you can click for a correct sit, then add a spoken “stay” cue. The clicker strengthens the timing while other cues broaden the dog’s understanding.
Conclusion
Clicker training gives you a precise, positive way to shape any behavior. By gathering the right tools, charging the clicker, capturing a simple action, adding a word, shaping steps, and fixing timing mistakes, you’ll see steady progress.
Remember to keep sessions short, treat instantly, and stay consistent. When you run into trouble, revisit the charging drill and check your timing.
Ready for the next step? Explore our guide on how to stop a dog from jumping on people for more usable tips that build on clicker fundamentals.
“The click tells the dog, ‘Yes! That’s exactly what I wanted.’”