
Most owners think a sit is easy. But without a clear plan, you’ll waste time. In this guide we walk you through every step to teach a dog to sit. You’ll get the why, the how, and the fixes for common slip‑ups. By the end, you’ll have a reliable sit command for your furry friend.
Step 1: Gather Treats and Choose a Quiet Environment
First, pick treats that really grab your dog’s nose. Low‑value kibble often won’t cut it when you need focus. According to Pawstruck’s guide on high‑value treats, soft, strong‑smelling bites work best for quick rewards. If peanut butter is your go‑to, read our safety tips for dogs.
Choose a spot with few distractions. A quiet living room, a backyard corner, or a closed garage work well. The goal is to let your dog hear only your voice and the treat rustle. If the area is noisy, the dog will look around instead of at you.
When you’ve got the treats, break them into pea‑size pieces. This keeps the calorie count low and lets you give many rewards in one session. Remember to adjust dinner portions so you don’t overfeed.
High‑value treats should be soft enough to bite in one motion. A hard chew makes the dog pause, which breaks the learning flow. Look for options like dried chicken strips or soft beef jerky.
Pick a surface that isn’t slippery. Tile or hardwood can make a dog’s hind legs slide, which hurts balance. A rug or carpet gives good grip and helps the dog feel stable.
Bottom line: The right treats and a calm space set the stage for a quick sit.
Step 2: Lure Your Dog into a Sitting Position
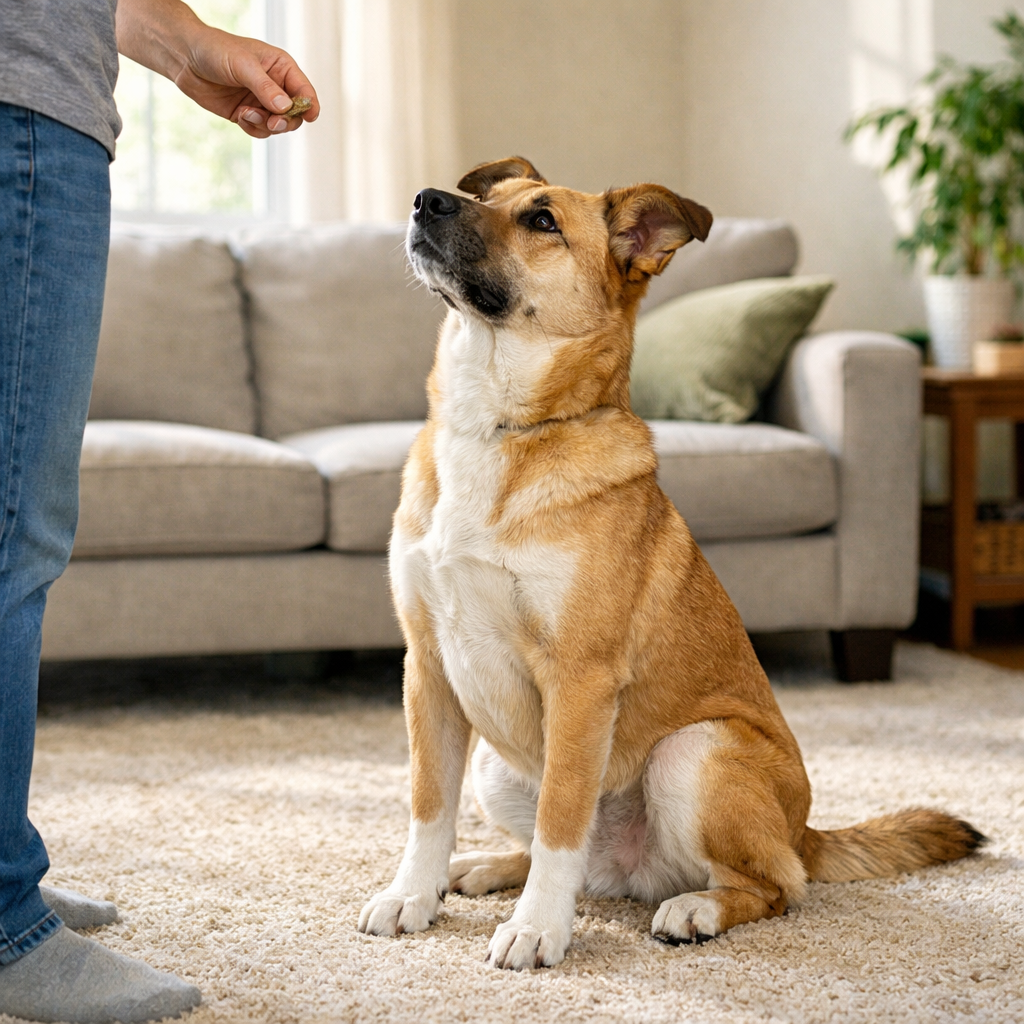
Now hold a treat near your dog’s nose. Slowly raise it up and back over the head. As the nose follows, the rear will drop. This is the classic lure move that works for most dogs.
The motion is simple: treat → nose, move upward, dog looks up, hips fall. If your pup hesitates, slow the motion even more. Patience beats speed here.
After a few successful lures, start to fade the treat. Keep the same hand shape but keep the fingers empty. When the dog sits, reward with a treat from the other hand. This shift trains the hand shape, not the food.
Some dogs cling to the visible treat. If that happens, try a toy lure , a squeaky ball or rope. The key is the motion, not the snack.
“A good lure is a magnet for a dog’s nose, not a leash for its mind.”
Practice the lure for about five minutes each day. Short bursts keep the dog’s attention high.
Bottom line: Luring teaches the dog the body move before any word.
Step 3: Add the Verbal Cue “Sit”
When the dog sits reliably on the hand signal, it’s time to add a word. Choose a short, clear cue like “sit”. Say it in a calm voice just as the dog’s rear hits the floor.
Practice this combo: hand signal → treat → word “sit” → treat. Over time, drop the treat and keep the word. The dog will link the sound to the motion.
Make sure you use the same tone each time. Changing pitch confuses the dog and slows learning.
If the dog looks at you instead of the hand, you’re still cue‑dependent. Keep the hand low, close to the body, and repeat.
Bottom line: The verbal cue locks in the behavior for future use.
Step 4: Practice and Reinforce with Rewards
Now that the cue works, build consistency. Short, frequent sessions beat long, rare ones. Incorporating affection and play into your routine strengthens the training bond. Aim for five‑minute blocks two to three times a day.
During each block, run through the sit command 8‑12 times. End the block on a high note , a perfect sit followed by a tasty treat.
Repetition matters. As Dog‑Trainer.biz explains, repeating the exact motion and cue builds a clear mental map for the dog. Skip other commands during the same block to avoid confusion.
Gradually add mild distractions. Start with a soft music track, then a person walking past. Only increase difficulty when the dog nails the sit every time.
Watch for signs of fatigue. A panting dog needs a break. Over‑training can cause the dog to lose interest.
Bottom line: Repetition with clear rewards turns a trick into a habit.
Step 5: Troubleshooting Common Issues
Even with the best plan, hiccups happen. Here are the top roadblocks and how to fix them.
Dog won’t sit at all. Check the lure height. If the treat is too low, the dog may not lift its head enough for the rear to drop. Raise the treat a bit higher.
Dog sits then pops up. This often means the dog is uncomfortable. A hard floor can hurt joints. Move to a soft rug or grass. If the dog still jumps up, it may have a mild joint issue , a vet check is wise.
Dog only sits when it sees a treat. You’re likely still cue‑dependent. Fade the treat faster. Use an empty hand for a few reps, then reward from the other hand.
Dog looks confused by the word. Keep your tone consistent and avoid shouting. Use the same syllable each time. Record the cue and play it back for consistency.
Physical limits matter too. A dog with knee pain may sit with legs splayed. That’s called a “sloppy sit”. Dogs4MotionAcademy explains that pain or weak core can cause this. A gentle core‑strengthening routine and a vet check can help.
Remember, patience beats frustration. If a step stalls, back up a stage and rehearse until it’s smooth before moving forward.
Bottom line: Fixing small issues keeps progress steady.
Frequently Asked Questions
What age can I start teaching my dog to sit?
You can begin as early as eight weeks once the puppy reliably responds to its name. Early start helps the pup learn the cue while its mind is still flexible.
How many times should I repeat the sit command each day?
Aim for 8‑12 repetitions per short session, two to three sessions daily. This adds up to about 30‑40 reps a day, which matches the repetition principle for solid learning.
Do I need a clicker for teaching sit?
A clicker isn’t required, but it can mark the exact moment the dog sits. If you use one, click the instant the rear hits the floor, then give a treat.
My dog sits but won’t stay seated. What should I do?
Practice the “stay” cue separately. After a solid sit, ask the dog to wait a second, then reward. Gradually increase the wait time.
Can I use a toy instead of a treat?
Yes. A favorite squeaky ball works as a lure if your dog is more toy‑motivated. Just reward with a treat after the sit to keep the food link.
What if my dog has joint pain and can’t sit comfortably?
Check with a vet first. Use a softer surface and a lower‑value cue until the dog is pain‑free. You may need to work on a “down” cue instead while you heal the joints.
Why does my dog sometimes sit and then immediately stand?
This can be a timing issue. Make sure you give the treat the moment the sit is complete, not a second later. Immediate reward strengthens the behavior.
Should I train in different rooms?
Yes. Start in a quiet room, then slowly add new locations. Generalizing the cue helps the dog obey anywhere.
Bottom line: Consistent, patient practice solves most sit problems.
Conclusion
Teaching a dog to sit is a building block for all later tricks. By picking the right treats, using a clear lure, adding a calm word, and practicing in short bursts, you give your pup a solid foundation. Remember to watch for physical limits and keep sessions fun. For extra bonding tips, see our guide on showing affection.
If you want more step‑by‑step guides on basic commands, check out our positive reinforcement training guide. It dives deeper into reward timing and cue consistency.
Happy training! With patience and the right tools, you’ll see your dog sit on command in no time.